Why Do Parts of the Next Page Show Up in the Bleed Areas?
The edge of the next page showing in the bleed is normal.
This is how InDesign exports PDFs with individual pages. However, we will join the pages into spreads before the printing process, and it won’t appear in the final book.
What's Up with the Strip
If you are laying out pages for a book, you're likely working in a spread style, technically known as a facing page layout with a full bleed design. When you set up the pages correctly, you might see a strip of the adjacent page showing in the bleed area. This is how Adobe InDesign displays PDFs when you export them with individual pages. The page borrows the adjacent page as the bleed.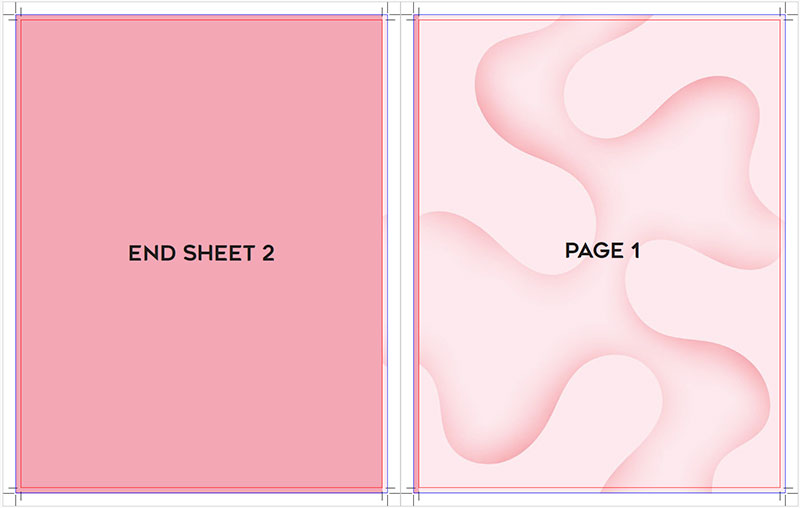 This image demonstrates an Adobe InDesign book production file where the adjacent page strip appears in the bleed area. This setup is correct.
How We Handle the File
However, in practice, when you send the file to us, we prepare the file in the printer's spread, which is later sewn into signatures and bound as a book. When we join the pages, the middle part gets eliminated, so the strip from the other page that you're seeing won't even get printed.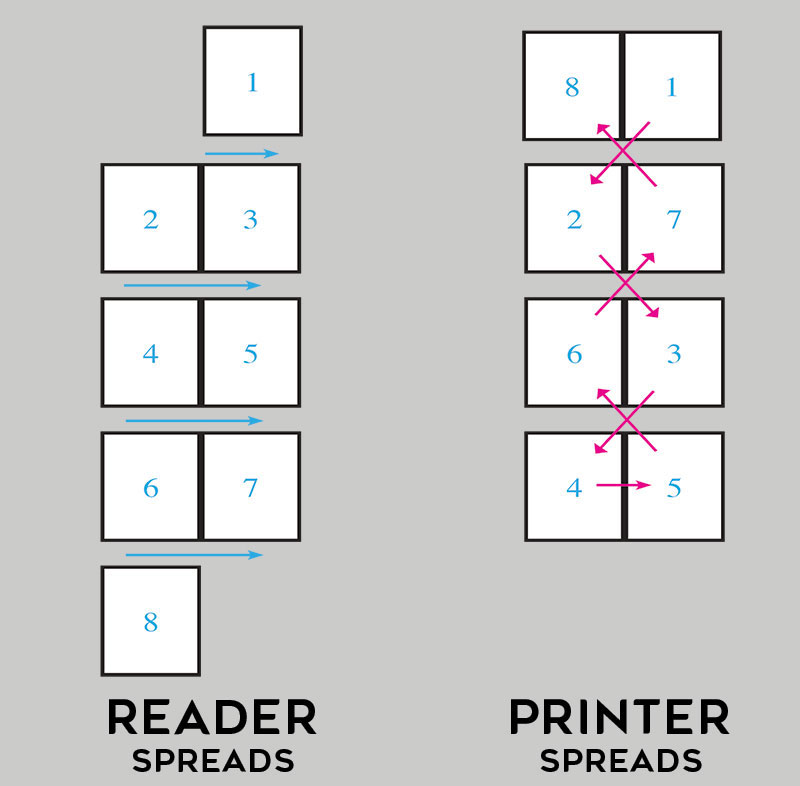 Important: Always prepare your pages in reader spreads. We will handle the conversion using professional printer software. It’s not possible for you to determine the page arrangement without knowing the number of pages in a signature (stack).
Viewing the PDF
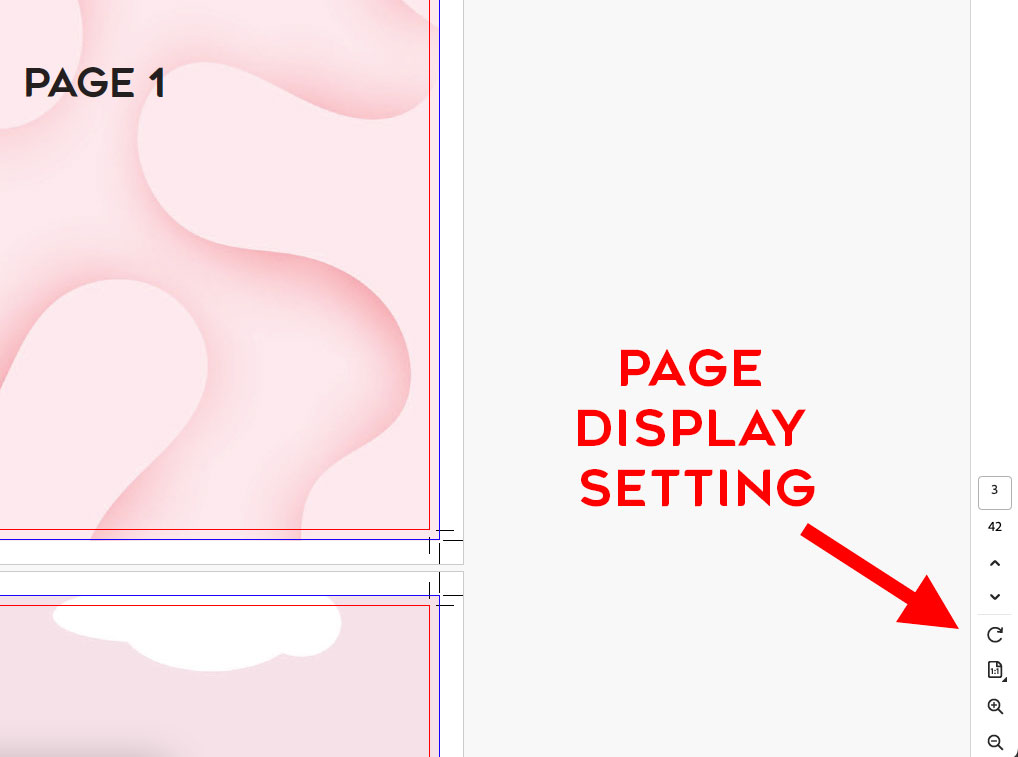
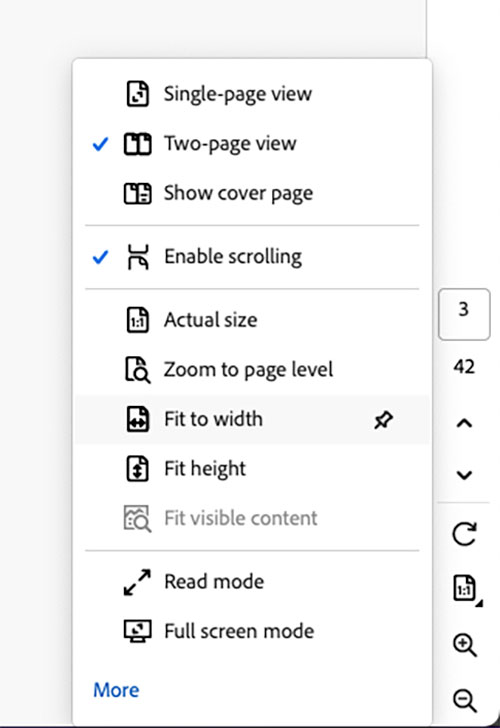
Depending on your page setup, you may need to adjust the view for proper display. This can be done using the free version of Adobe Reader.
Single-page view: Displays pages one at a time, scrolling top to bottom.
Two-page view: Shows pages as spreads, left to right. Ideal for most book projects.
Show Cover Page: Moves the first page to the start of the book block. Depending on your page setup, you may need to enable this option to display the pages in the correct spread. This feature is only available in two-page view.
Spiral (O-Ring) Binding
For most books, you would set up the layout in spread style. However, for spiral (O-ring) binding, you need to design the layout in single pages. Since spiral-bound books consist of individual pages throughout. And with no spread pages, bleeds are required on all four edges.Exporting as Spreads
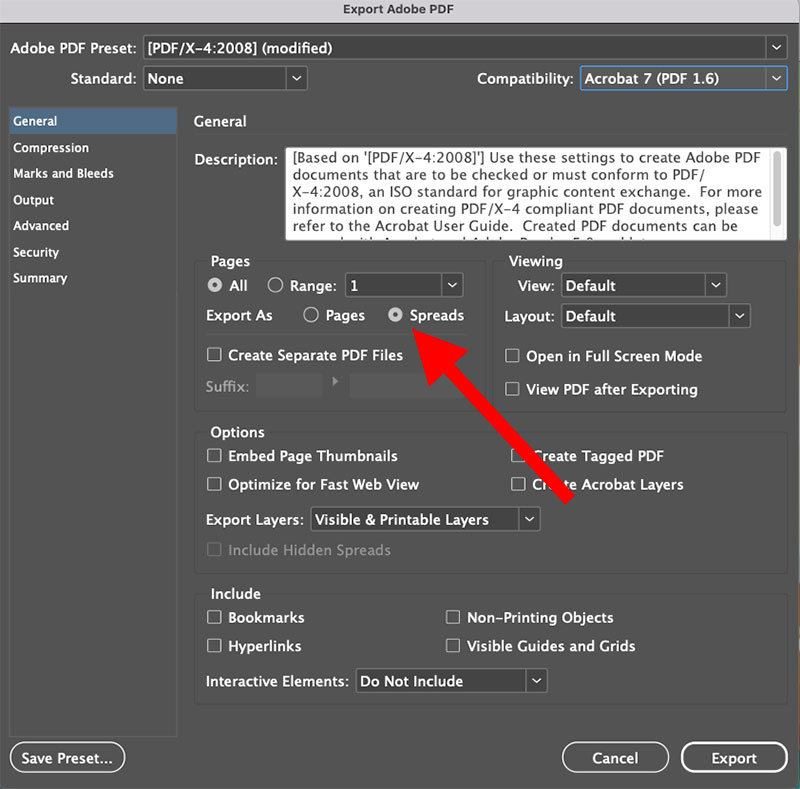
Viewing pages in single-page mode can be a bit confusing. You can export the PDF from InDesign using spread style; in that case, you can see the two pages combined in Adobe Reader. We can accept this format as well, which we refer to as converting reader spreads to printer spreads.