The Easiest Way to Rearranging and Add Blank Pages to a PDF
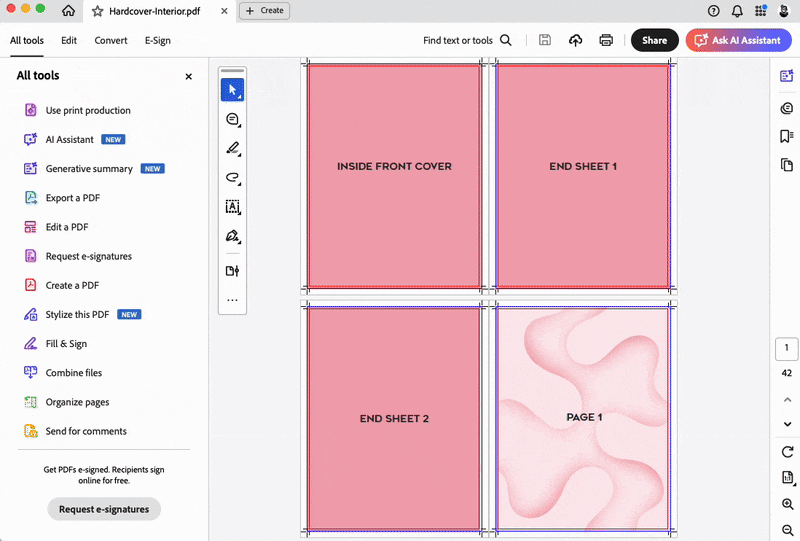
When working on a book file, you may need to add blank pages as fillers. If you’re preparing a project with Ken the Book Printer, making sure your file is set up correctly will save time later. This could be to include blank endsheets at the beginning or end of the interior pages or to ensure the total page count is divisible by four for printing purposes. The steps below guide you through adding blank pages to your PDF.
You may also need to move pages around if they were exported in the wrong order or if you want to change where the title, copyright, or other front matter appears. This can be done in the same tools you use to add blank pages.
Using Adobe Acrobat
- Open your PDF in Adobe Acrobat.
- Navigate to Tools > Organize Pages.
- In the Organize Pages toolbar, select Insert Pages > Blank Page.
- Choose where to insert the blank page (e.g., before or after a specific page).
- Click OK to add the blank page.
- Save the PDF by selecting File > Save or Save As.
*Adobe Acrobat requreis a subscription for full editing features.
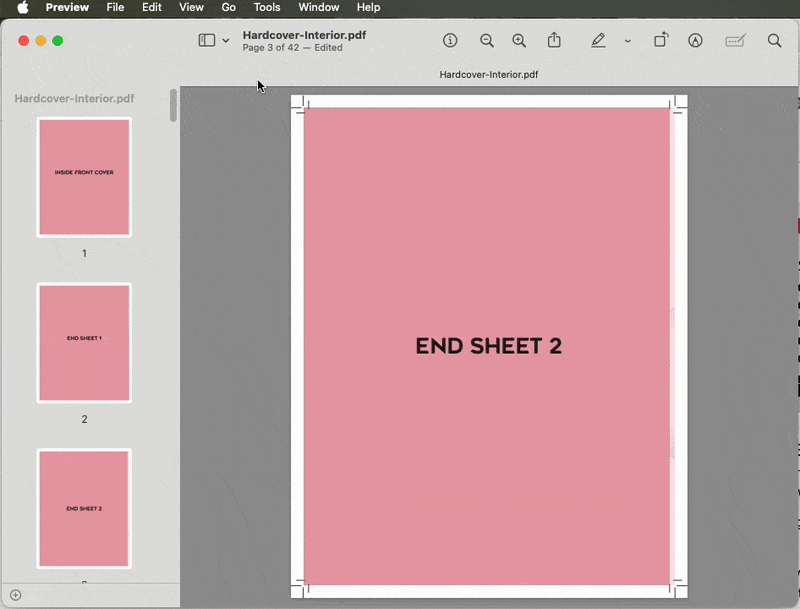
Using Preview on Mac
If you don’t have an Adobe Acrobat subscription, you can use the built-in Preview app on macOS to add blank pages to your PDF.
- Open your PDF in Preview.
- Enable the thumbnails view by navigating to View > Thumbnails.
- In the thumbnails sidebar, click the page where you want to insert a blank page.
- Go to Edit > Insert > Blank Page.
- Rearrange pages by dragging thumbnails in the sidebar, if needed.
- Save the PDF
More File Prep Guides
Manufacturing a book is never simple, and having your file prepared correctly is one of the most important steps. We’ve spent years studying, gaining experience, and learning how to communicate clearly with our clients. Many printers will simply print whatever files you send, but we care about the outcome. That’s why we take our time to make the files right, and why we’ve created these guides, so you can better understand the process and get your files truly print-ready.